

Imagine harvesting homegrown chillies in a cool coastal garden, nurturing a dwarf banana plant on a temperate balcony, or growing Mediterranean olives where winters are damp. This isn’t magic—it’s microclimate gardening. And the best part? You can create these pocket-sized paradise effects in a single planter box, no greenhouse required.
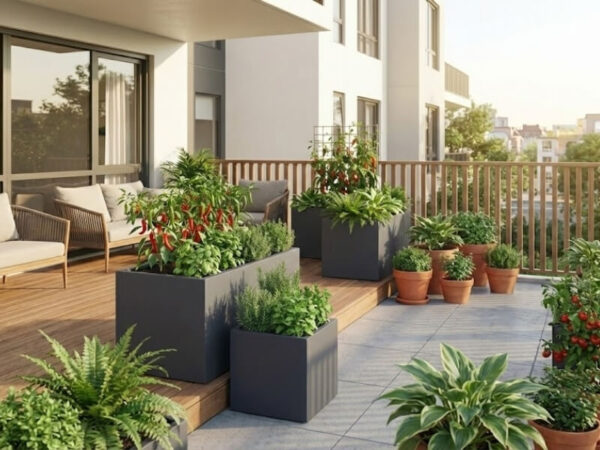
Let’s explore how to harness warmth, block wind, and turn everyday spaces—balconies, courtyards, patios—into thriving, custom growing zones that defy your local climate.
This post is a part of our comprehensive collection of guides on Pot Planting and Care.
What Exactly is a Microclimate?
A microclimate is a small area where the environmental conditions—temperature, light, wind and humidity—differ from the surrounding landscape. Nature creates microclimates everywhere: warm pockets near rocks, frost-free hollows, humid spots beneath dense foliage.
Planters give gardeners even more control, allowing you to manipulate:
- Heat absorption and retention
- Wind exposure
- Moisture levels
- Sunlight concentration
- Airflow patterns
With intentional placement, a simple planter box becomes a controlled environment where you can grow plants well outside their comfort zone.
Part 1: Harnessing the Sun—Create Your Heat Trap

A sun trap is a purposefully designed space that captures, reflects, and retains solar warmth, often raising the temperature by several precious degrees—a critical advantage for tender plants.
- Use Walls as Thermal Engines: Place your planter against a north-facing wall (Southern Hemisphere) or south-facing wall (Northern Hemisphere). This is the single most effective placement for capturing all-day sun.
- Leverage Thermal Mass: Walls made of brick, stone, or dark render absorb heat all day and release it slowly at night. This radiant heat prevents cold shock and can keep the immediate area frost-free.
- Employ the Reflection Bonus: A light-colored wall or fence opposite your planter acts as a giant reflector. It bounces additional light and heat onto your plants, effectively giving them “double exposure” and boosting growth.
- Utilize Hard Surfaces as Heat Batteries: Paving stones, courtyards, and concrete slabs adjacent to your planter absorb immense heat. After sunset, they radiate this stored warmth upwards, creating a protective thermal bubble for your plants.
- Choose the Right Planter for Heat: To maximise warmth, choose a dark, thick-walled planter elevated on feet. While Sigma’s fibreglass planters have low thermal conductivity, their sleek profiles don’t retain heat mass like heavy masonry. This is easily managed by selecting larger vessels; the increased volume of potting mix acts as a powerful thermal buffer, effectively absorbing and regulating temperature to protect sensitive root systems, making them perfect thermal engines for sun-trap gardens, ensuring even warming for a healthier root zone.
Part 2: Sheltering from Wind—Build a Calm Growing Zone with Planter Boxes
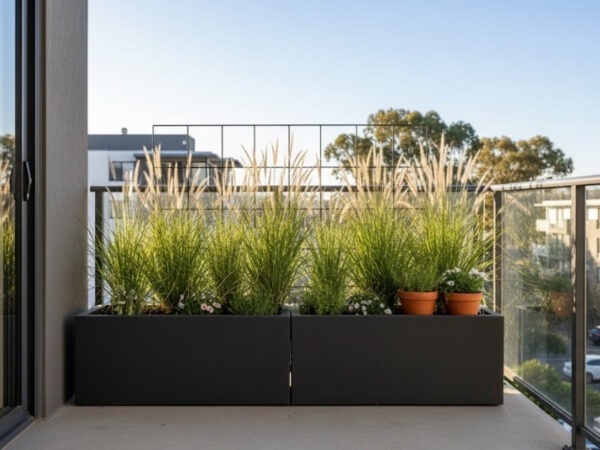
Wind is a stealthy adversary, stripping moisture, stressing plants, and creating a wind-chill effect—even on sunny days. Creating a buffer is crucial for a productive microclimate.
- Use Taller Planter boxes as Windbreaks: Strategically position a tall trough, planter, or a row of dense grasses on the windward side (the direction the wind comes from). This creates a solid barrier that deflects or slows damaging gusts before they hit more tender plants.
- Add Trellises or Screens as Wind Filters: Attach a trellis, lattice screen, or woven panel to your planter or its immediate surroundings. This structure breaks strong wind into gentler, turbulent airflow. For a living solution, grow climbers like jasmine, passionfruit, or beans to create a dense, breathable shield.
- Cluster Planter boxes to Create Protected Pockets: Group several pots and planters together tightly. This collective mass acts like a miniature village, breaking up wind flow and creating still-air zones between them. These pockets naturally maintain warmer air, higher humidity, and reduced evaporation, mimicking a sheltered forest floor. This is companion planting applied to microclimate design — the grouping itself becomes the shelter.
- Employ Softening Layers: Plant ornamental grasses, tall perennials, or use woven fencing around the perimeter of your growing area. These elements filter and soften wind at multiple heights, preventing the funnelling effect that can occur with solid barriers alone.
Part 3: The Microclimate Stack—Combine Planter Box Techniques for Maximum Effect
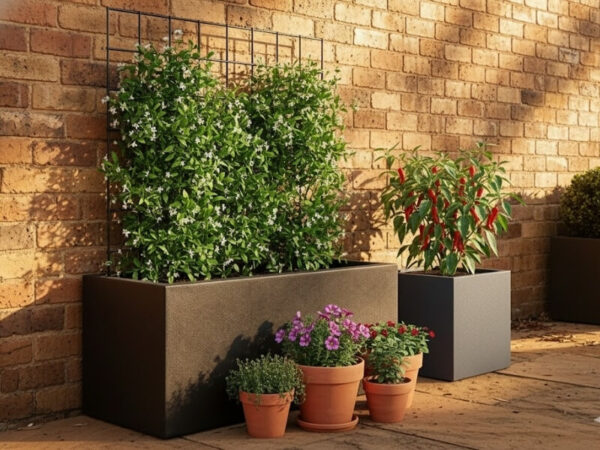
The most powerful and resilient microclimates are created by “stacking” multiple techniques, layering them for a compounded and dramatic result far greater than the sum of their parts.
- The Philosophy of Stacking: Don’t just use one method in isolation. Intentionally combine heat-harnessing, wind-protection, and moisture-management strategies to engineer a truly custom environment. This approach mimics nature’s complex systems and provides backup if one element is less effective on a given day.
- Example: The Balcony Subtropical Oasis Stack:
- Heat Stack: A dark, thick-walled planter placed against a sun-drenched brick wall (thermal mass + absorption).
- Shelter Stack: A trellis with a fast-growing vine on the windward side (wind filter) + a cluster of companion pots (windbreak and humidity trap).
- Humidity Stack: Dense planting within the planter + a gravel tray filled with water placed beneath it (evaporative cooling and humidity boost). For a low-maintenance alternative, self-watering planters integrate a built-in reservoir that provides consistent moisture while reducing evaporation stress in warm, sheltered positions.
- The Result: This intentional, layered approach synergizes to create an environment—consistently warm, physically sheltered, and moisture-rich—that is dramatically different from the surrounding balcony climate. It allows you to successfully grow lush, frost-tender plants that would otherwise struggle or perish in the open air.
Real-World Planter Microclimates You Can Create with Planter Boxes
1. The Subtropical Oasis (for Temperate Zones)
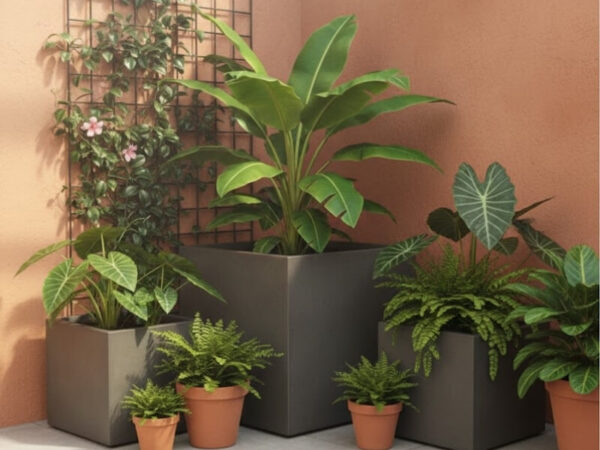
Create your own lush, leafy retreat even in cooler regions by focusing on warmth, shelter, and humidity. This microclimate is perfect for plants like dwarf banana, ginger, bird of paradise, and philodendron, which typically crave tropical conditions. To build it, use a layered “stack” of techniques: start with a large, dark-colored planter placed directly against a warm, sun-facing wall to absorb and radiate heat. Add a trellis on the windward side planted with a fast-growing vine to act as a living windbreak, and cluster several companion planters closely around it. This grouping traps humid air, protects from chilling gusts, and creates a surprisingly moist, warm pocket where subtropical plants can thrive against the odds.
2. The Mediterranean Corner
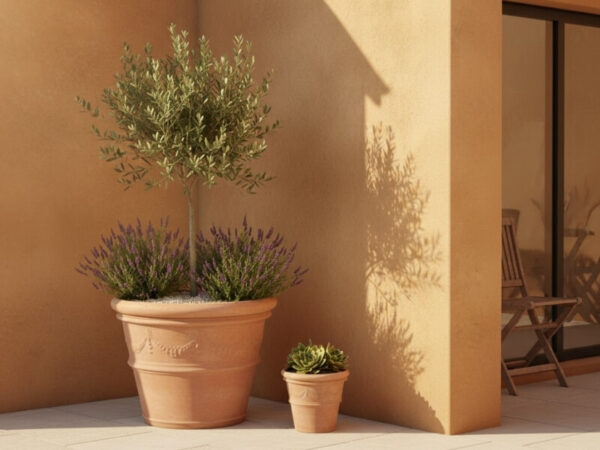
Mimic the hot, dry hillsides of the Mediterranean by designing a microclimate focused on maximum heat, sharp drainage, and dry air. Ideal plants for this sun-drenched environment include dwarf olive trees, lavender, rosemary, and sculptural agaves. Achieve this effect by using a classic terracotta pot (which breathes and prevents waterlogging) placed against a sun-baked wall for radiant heat. Fill the surface with a light-colored gravel mulch to reflect light upward and keep roots cool and dry. Critically, avoid clustering other pots nearby—allow space for air to circulate freely, ensuring the low-humidity conditions these drought-loving plants require.
3. The Frost-Free Edible Zone
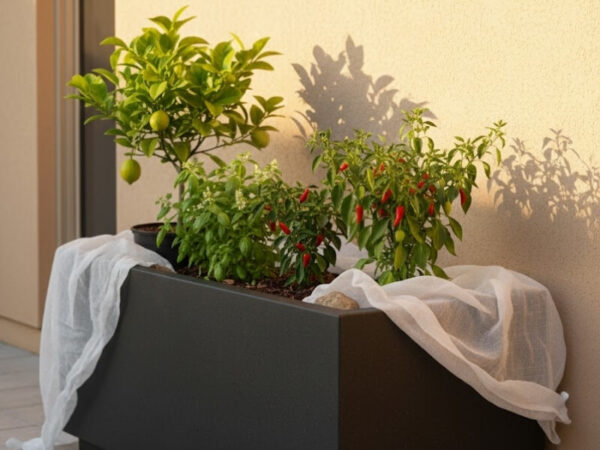
Extend your growing season and protect tender crops by creating a microclimate dedicated to frost protection and accumulated warmth. This setup is ideal for heat-loving edibles like chillies, tomatoes, basil, and dwarf citrus that suffer when temperatures drop. The design centers on a dark-colored, raised planter positioned against a house wall—preferably one that absorbs sunlight all day and releases its stored heat slowly through the night, creating a protective thermal buffer. For an extra boost in early spring or late autumn, add a temporary cloche or a sheet of horticultural fleece over the planter at night. This simple system can prevent frost damage and give you a crucial head start on the summer harvest.
If you’re gardening in a genuinely hot climate rather than a constructed one, our guide to the best outdoor potted plants for a Brisbane garden covers plants built for the heat.
4. The Humidity Pocket (for Shade Lovers)
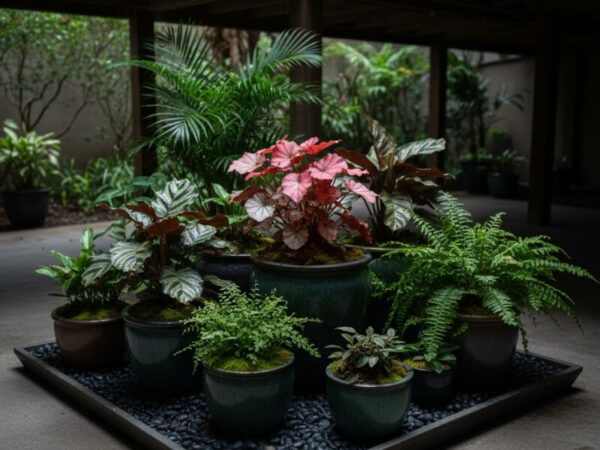
Craft a cool, moist haven for plants that recoil from dry air and direct sun by building a humidity-focused microclimate. This is the perfect environment for ferns, calatheas, begonias, and moss, which naturally thrive on the forest floor. For a genuinely dim corner, plants for shaded courtyards are the place to start. Design this pocket by grouping glazed ceramic or plastic planters (which retain moisture) in a shaded, enclosed corner, such as a north-facing alcove or under a deck. The grouping itself traps moist air. Amplify the effect by placing a wide, shallow pebble-water tray beneath the planters and keeping it topped up—the constant evaporation significantly boosts local humidity. Water the plants regularly to maintain consistently damp (but not soggy) soil, and you’ll create a self-sustaining, jungle-like atmosphere for your shade lovers.
How to Build Your Own Planter Box Microclimate: A Simple Framework
- Define Your Goal: More warmth? Less wind? Higher humidity? Pick one or two primary aims.
- Select the Right Planter: Choose material, color, and size based on your goal (e.g., dark and thick for heat, glazed for moisture retention).
- Position with Intent: Place your planter with clear purpose. For warmth, use a sun-facing wall and reflective surfaces. For shelter, tuck it into a corner, use a wall as a windbreak, or cluster it with other pots.
- Add Structural Enhancers: Attach a trellis, include a gravel-water tray, or position companion planters to amplify your effect.4. Monitor and Adapt: Check moisture levels frequently (sun traps dry out fast). Be ready to rotate plants or add temporary shade in peak summer.
Maintenance & Troubleshooting
- Watch Watering: Warm, sheltered microclimates dry out surprisingly quickly.
- Prevent Overheating: In high summer, temporary shade cloth can prevent scorch on dark planters. Watch soil heat when using dark planters in sunny spots.
- Refresh Mulch: A layer of gravel or stone chips stabilizes soil temperature and reduces evaporation.
- Winter Care: In cold climates, move vulnerable stacked microclimate planters to a more sheltered spot or wrap the planter in hessian for root insulation.
Your Climate, Your Rules

Microclimate gardening is the art of intelligent rebellion. It’s about observing the hidden warmth in a wall, the stillness in a corner, and saying, “Here, I will grow something extraordinary.”
Start tonight. Run your hand along a sun-baked wall an hour after sunset. Feel the residual warmth? That’s your thermal engine. Notice the still air in a courtyard corner? That’s your shelter. Your microclimate is already waiting.
Place that planter with intention. Stack your techniques. Grow the garden you were told you couldn’t have.
Your broader climate doesn’t dictate your gardening possibilities—your design does.
0 Comments