
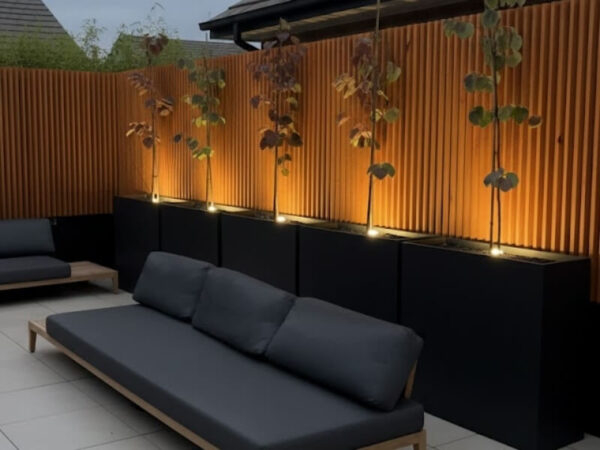
Transforming your patio, balcony, or garden into a captivating oasis starts with highlighting its star features. Potted plants and container trees are perfect candidates for landscape lighting, adding depth, drama, and a beautiful ambiance to your outdoor living areas.
This guide will walk you through the essential techniques, fixture types, and tips to professionally accent your container garden after dark.
Why Light Your Potted Plants?
While improving visibility is one benefit, the true value of lighting your container garden lies in its power to completely reimagine your outdoor space after sunset. It’s a design tool that blends art with practicality, delivering a range of transformative advantages.
- Creates Focal Points: Draws the eye to specific architectural plants or flowering specimens.
- Extends Living Space: Allows you to enjoy your outdoor area long after the sun has set.
- Adds Drama and Depth: Uses light and shadow to create a multi-dimensional, theatrical effect.
- Enhances Security: A well-lit outdoor space can deter unwanted attention.
Choosing the Right Fixtures
The key to successful planter lighting is selecting fixtures designed for the task and the environment. The right choice will depend on your plant’s size, the pot’s style, and the specific effect you wish to create.
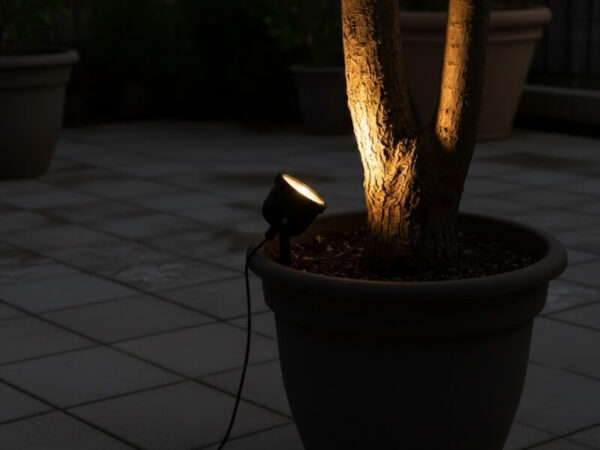
1. Spike-Mounted Uplights
These are the workhorses of garden lighting. They consist of a light head on an adjustable spike that pushes directly into the potting mix.
- Best for: Larger pots with trees like Citrus, Olive, or Japanese Maple, or tall, structural plants like Phormium (New Zealand Flax) or Dracaena.
- Tip: Ensure the spike is firmly seated in the soil to keep the light stable.
- Expansion: Their major advantage is flexibility; you can easily reposition them if you move the pot or decide the plant needs a different angle of light. Look for models with a locking mechanism or a sturdy spike to prevent them from being knocked over by wind or wildlife.
2. In-Ground / In-Pot Well Lights
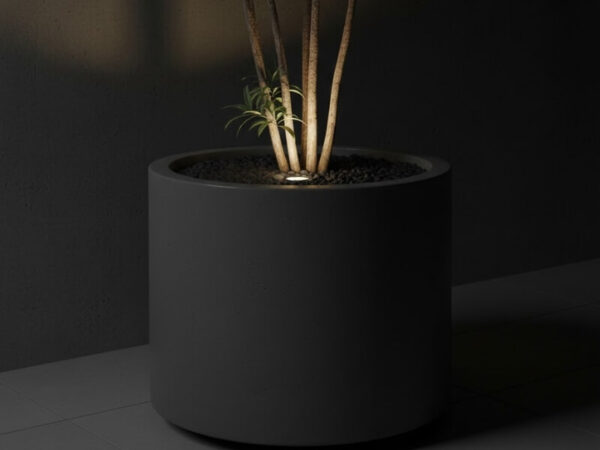
These are low-profile, cylindrical fixtures designed to be buried or submerged in the potting mix, with the light head sitting flush with the soil surface. They are discreet and perfect for a clean, minimalist look.
- Best for: Creating a seamless effect where you want to see the light, not the fixture. Ideal for modern settings and low-growing, wide plants.
- Tip: They require a pot with enough depth to accommodate the fixture’s housing.
- Expansion: Because they are installed flush with the soil, they are an excellent choice for high-traffic areas or where a visible fixture would be distracting. Ensure the model you choose has a sealed lens to prevent soil, mulch, and water from directly covering the light source.
3. Mini Spotlights and Deck Lights
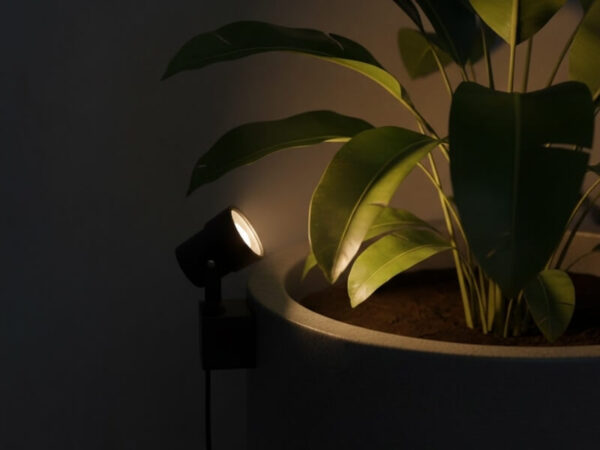
Smaller, low-voltage spotlights can be mounted on the rim of the pot, on a nearby wall, or on a deck post to graze or wash light across the plant.
- Best for: Smaller pots, highlighting specific features like a textured trunk, or washing light over a broad-leaf plant like a Bird of Paradise.
- Expansion: Many of these lights come with specialised brackets that allow for precise aiming, making them incredibly versatile for targeting specific parts of a plant. This makes them ideal for creating a strong grazing effect on a textured surface or for casting a defined pool of light.
4. Solar-Powered Lights
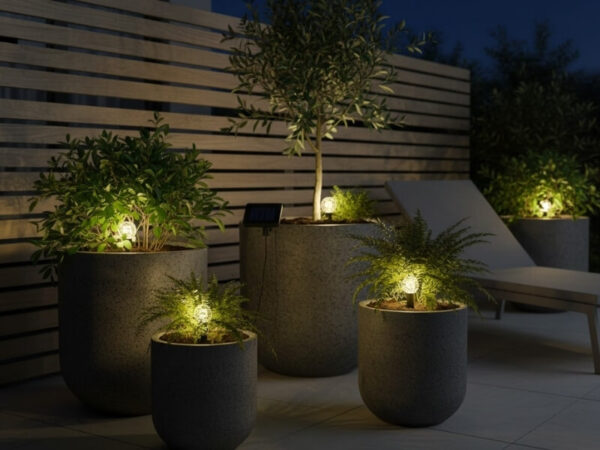
A flexible and cable-free solution, solar lights are great for pots that are far from a power source. Modern LEDs have made them much more reliable.
- Best for: Low-commitment lighting, renters, or pots in areas that receive full sun to charge the battery.
- Consideration: Light output and duration can be inconsistent, especially in winter or on cloudy days.
- Expansion: When choosing solar lights, prioritise models with a separate, larger solar panel rather than a small integrated one, as this will significantly improve charging efficiency. They are a fantastic, low-cost way to experiment with lighting placements before committing to a wired system.
SIGMA PLANTERS RANGES
Our exclusive in-house ranges are only available from Sigma Planters Australia.
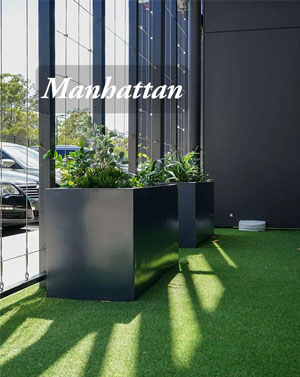
Manhattan Fiberglass Charcoal
$195.00 – $1495.00
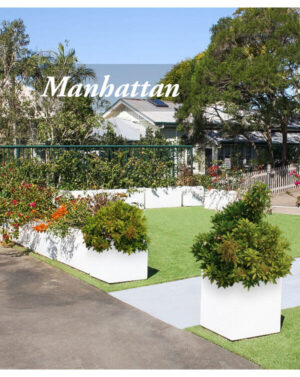
Manhattan Fiberglass White
$99.00 – $329.00
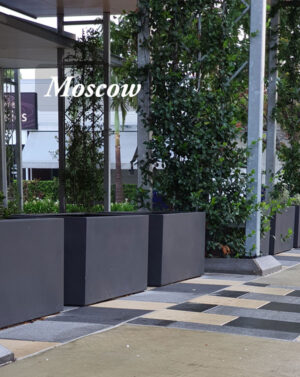
Moscow Rendered Concrete
$99.00 – $549.00
Florence Light Concrete
$195.00 – $995.00
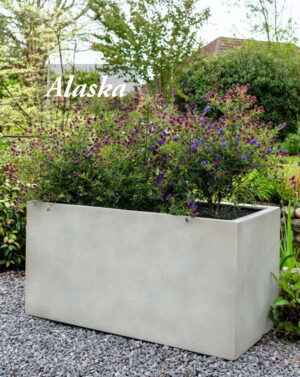
Alaska Off-White
$195.00 – $549.00
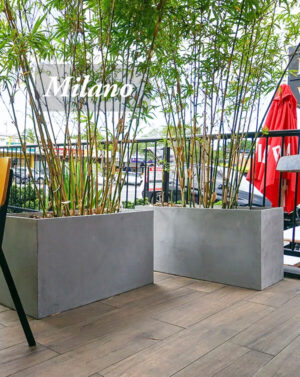
Milano Concrete Light
$195.00 – $895.00
Core Lighting Techniques for Containers
Mastering a few fundamental techniques will allow you to create a range of stunning effects, from bold drama to subtle ambiance. The right method depends entirely on the character of your plant.
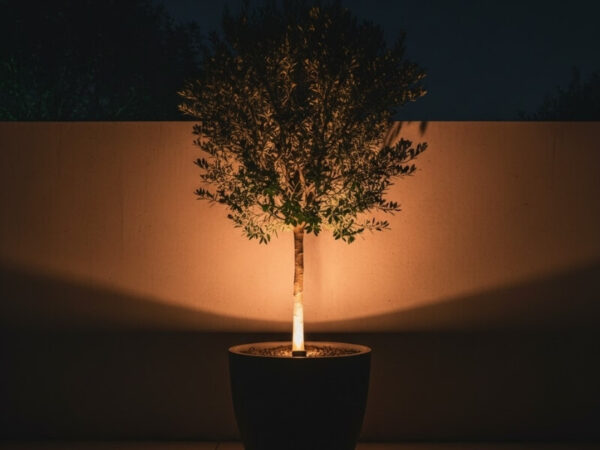
1. Uplighting (The Most Dramatic Effect)
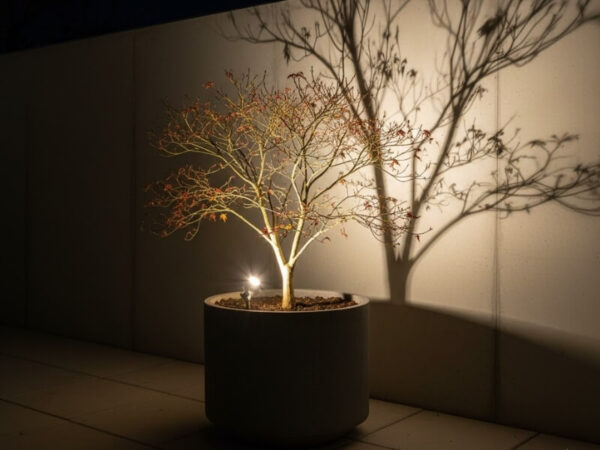
This involves placing the light source at the base of the plant and aiming it upwards.
- How to do it: Position a spike or well light in the potting mix, close to the base of the trunk or main stem. Aim it up through the canopy.
- Effect: Creates striking shadows on walls or fences, emphasises the structure of branches, and makes the plant appear to glow from within. Perfect for trees with interesting branch patterns, like a Crepe Myrtle.
- Expansion: For the best result, experiment with the exact placement. Positioning the light directly at the base and aiming straight up creates a bold, theatrical look. Placing it slightly off-centre can introduce more dynamic shadows and enhance the sense of depth and volume.
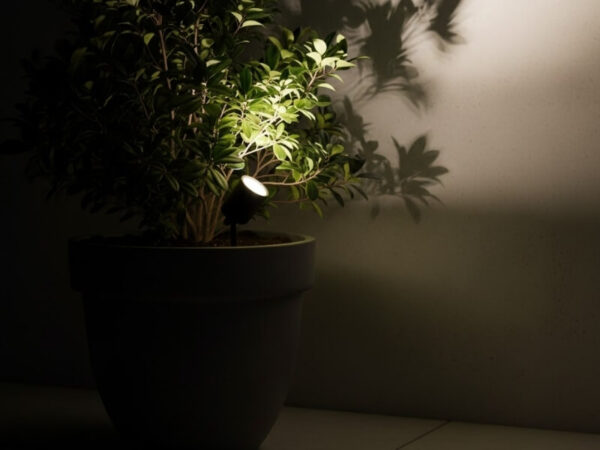
2. Grazing (For Amazing Texture)
This technique places the light source very close to the surface of the plant and shines it along the texture, rather than at it.
- How to do it: Place a small spotlight on the pot’s rim or on the ground right next to the pot, aiming almost parallel to the plant’s trunk or main leaves.
- Effect: Intensifies texture, making the rough bark of a Paperbark Maple or the intricate veins of a Monstera look incredibly dramatic.
- Expansion: The key is proximity. The closer the light is to the surface, the more pronounced the shadows cast by the texture will be. This technique is less about illuminating the entire plant and more about revealing its detailed character, turning a simple trunk or leaf into a sculptural element.
3. Washing (For a Soft, Even Glow)
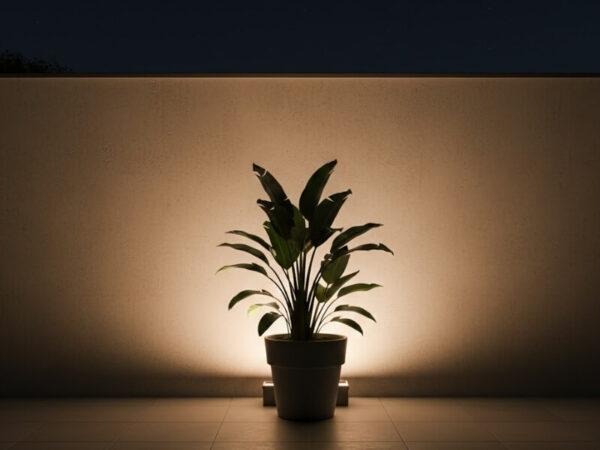
This uses a wider-beam light to “wash” a wall or surface in light, with the plant placed in front of it, creating a silhouetted or backlit effect.
- How to do it: Place a wider-angle fixture (like a wall washer) on the ground behind or to the side of the pot, aiming at the wall behind the plant.
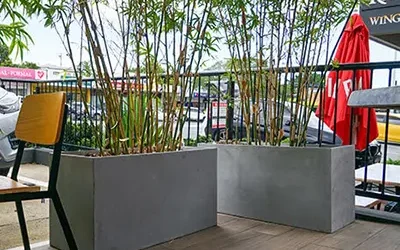
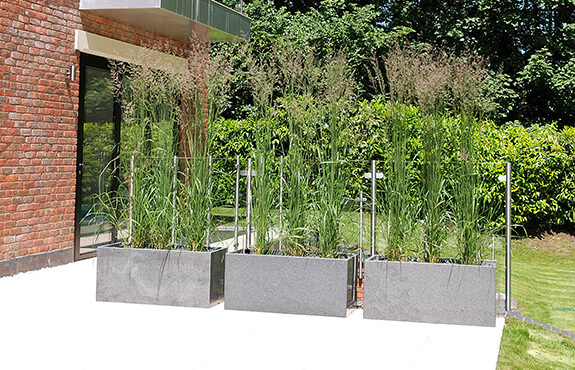
- Effect: Creates a soft, ambient backdrop that makes the plant’s silhouette the star. Excellent for plants with a strong shape, like a Bamboo palm.
- Expansion: This technique is excellent for creating layers of light in a compact space. By illuminating the backdrop, you add visual depth and make the area feel larger. It works beautifully with ferns and grasses, where a soft backlight can highlight the delicate, feathery nature of their fronds and blades.
A Practical Guide to Placement and Installation
Step 1: Plan Your Circuit
- Low-Voltage is Key: For safety and ease of installation, use a 12V or 24V low-voltage system. You will need a weatherproof plug-in transformer rated for the total wattage of your lights.
- Cable Management: Plan how the cable will run from the transformer to your pots. For a tidy look, run cables under mulch, along deck joists, or use discreet cable clips.
Step 2: Installing Lights in the Pot
- Check Drainage: Ensure your fixture or its cable won’t block the pot’s drainage holes.
- Secure the Fixture: Push spike lights firmly into the soil until they feel stable. For well lights, dig a small hole in the potting mix, place the housing, and backfill with soil.
- Hide the Cables: Run the cable from the fixture down through the potting mix and out the drainage hole (if possible and safe), or discreetly down the side of the pot and under it.
Step 3: Aiming and Adjusting
- Experiment with the angle after dark. The goal is to highlight the plant’s best features without shining the bulb directly into the eyes of people viewing it.
- Use fixtures with adjustable heads for fine-tuning.
Pro Tips for a Flawless Finish
- Less is More: Avoid over-lighting. One or two well-placed lights are often more effective than half a dozen. You want to create a mood, not a football stadium.
- Consider the Leaf Type: Dense, dark foliage will require a brighter light than a airy, light-coloured plant.
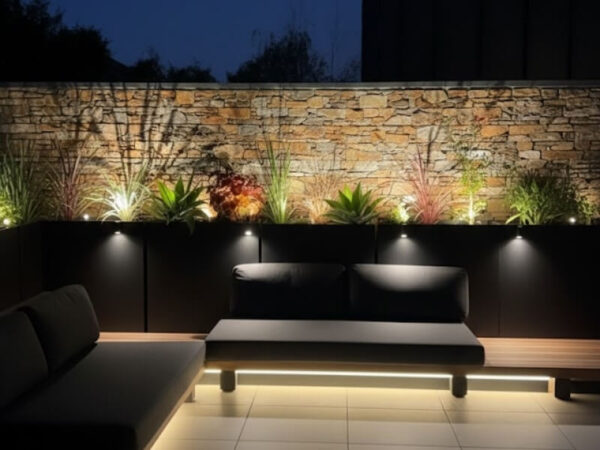
- Layer Your Light: Don’t light your pots in isolation. Combine them with path lights, step lights, or wall lights to create a cohesive and balanced lighting scheme.
- Warm White is Best: For a natural and inviting feel, always choose warm white LEDs (typically 2700K-3000K colour temperature). Cool white light can feel harsh and clinical in a garden.
- Think About Watering: Ensure your fixture is rated for wet locations (IP67 or IP68 is ideal). Be mindful of your watering routine to avoid constantly soaking the light fitting.
Creating Dramatic Night-Time Effects
- The Focal Point: Use the brightest light or the most dramatic uplighting on your largest or most spectacular container tree to make it the undeniable centrepiece.
- Shadow Play: Position an uplight tree to cast dramatic shadows from its branches onto a nearby wall or fence. This adds a layer of artistic depth to your space.
- Moonlighting: For a large tree in a pot, you can simulate moonlight by placing a small, soft light higher up (e.g., in a nearby eave or on a structure) and shining it down through the leaves to dapple the ground below with light and shadow.
By following these principles, you can move beyond simple illumination and start using light as a paintbrush, turning your container garden into a stunning night-time masterpiece.
Product Showcase – Recent Projects
Garden Pots and Planter Boxes Landscape Design Guide
Landscape design is fundamentally about creating harmonious and functional outdoor spaces. Whether...
Container Gardening: How to Plant Garden Pots and Planter Boxes Guide
Want to turn your planter into a container garden work of art? Garden pots, especially Lightweight...
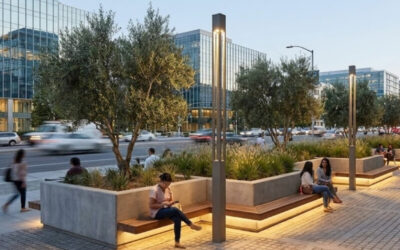
Security by Design: Using Heavy Planters for Vehicle Mitigation
In the evolving landscape of our cities and public spaces, a critical yet often delicate design...
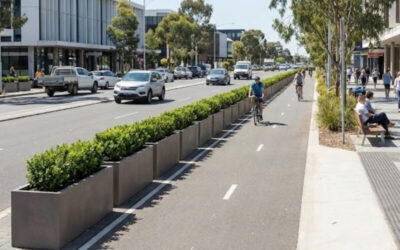
Acoustic Planters: Using Greenery to Mitigate Traffic Noise in Urban Developments
The relentless hum of traffic is the soundtrack to modern urban life. In Australia’s densifying...
0 Comments